★ recommended

Cheap, flexible, recommended
- ⚡ Hourly billing. ~$0.005/hr. Pay for what you use.
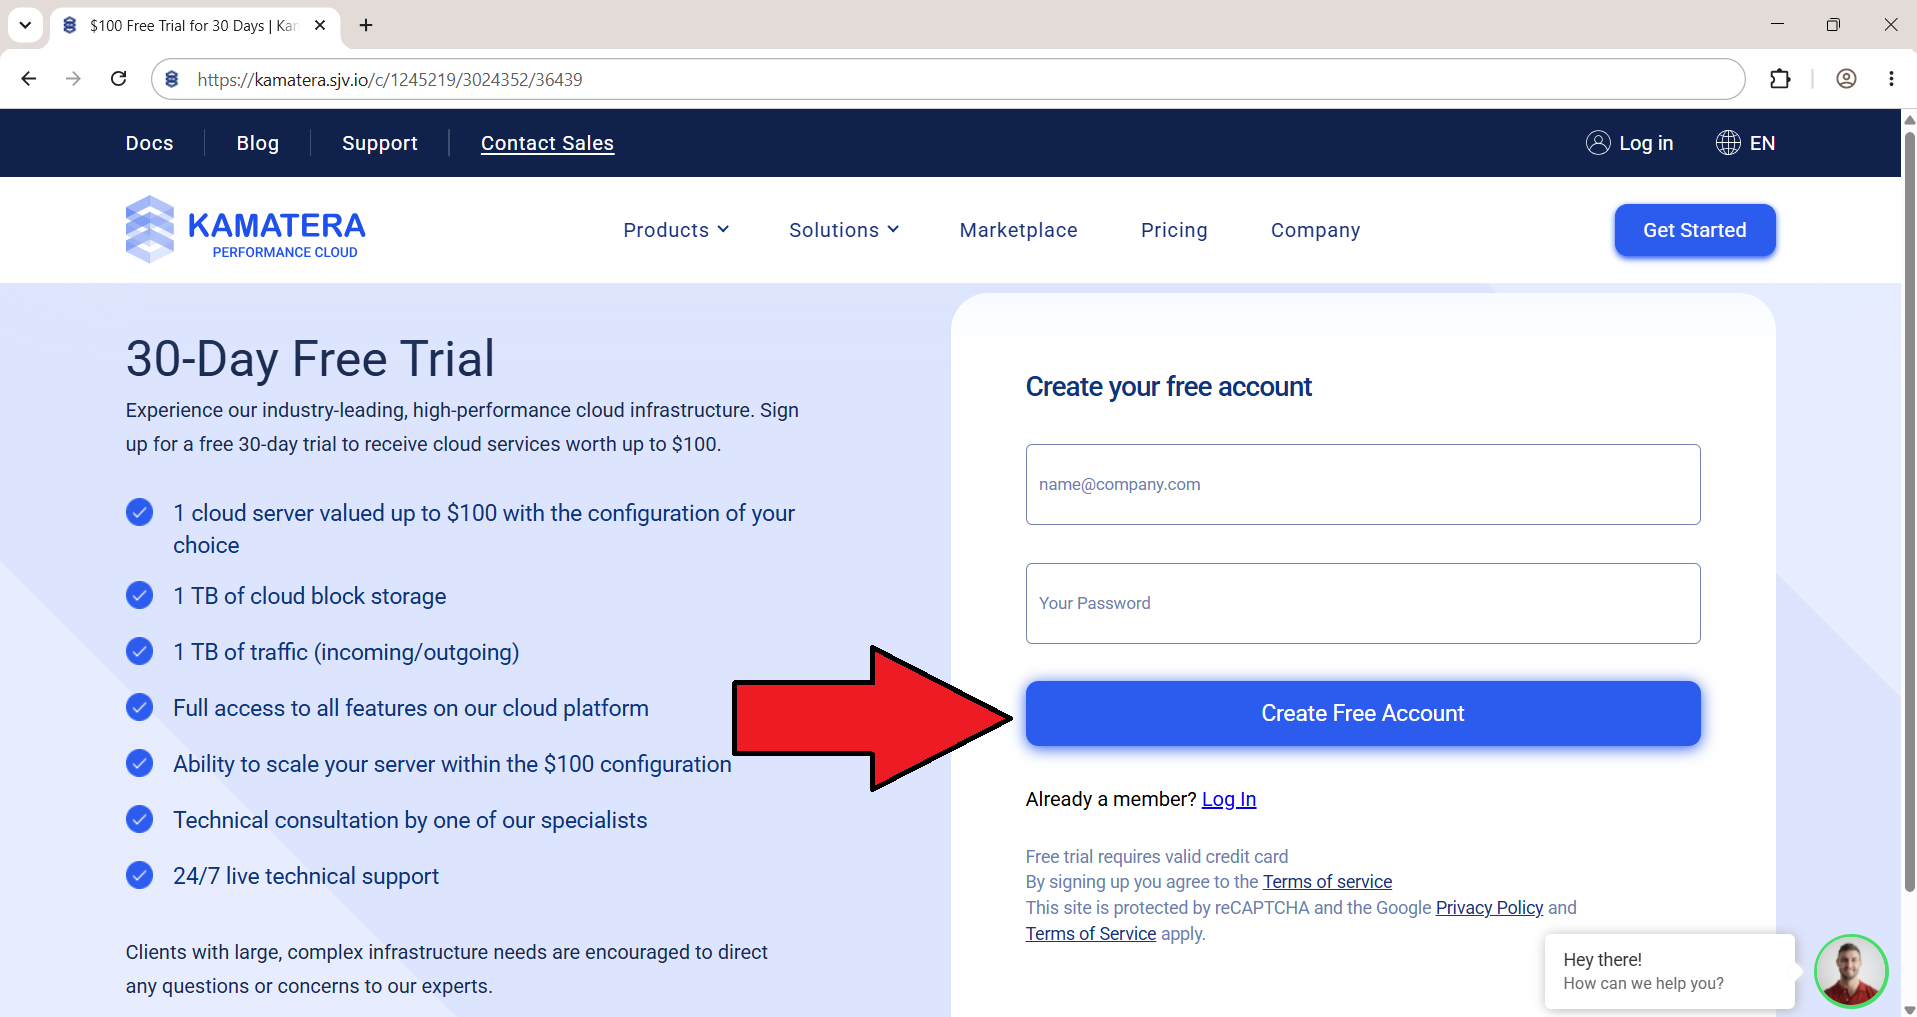
- 🆓 30-day free trial.
- 📈 Scale live. Add CPU/RAM in 60s.
- 🌍 9 regions worldwide.
from $4/mo
Spin up Kamatera →
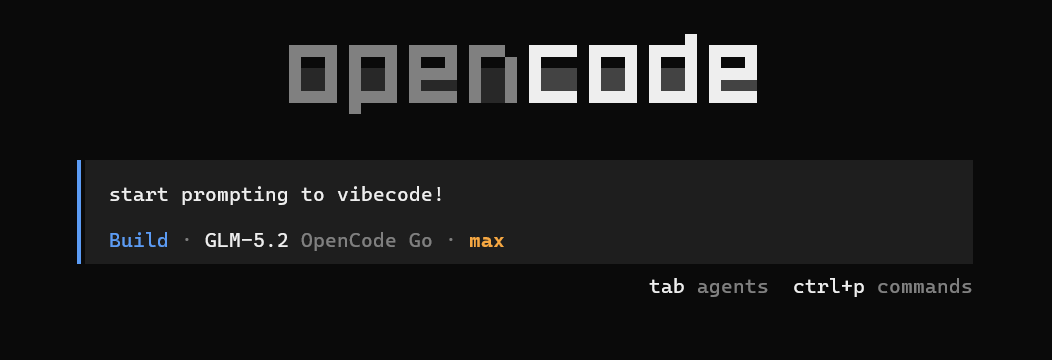
A cheap VPS + OpenCode Go = your own AI coding rig. No $200/mo bills. No lock-in. Just a terminal and vibes.
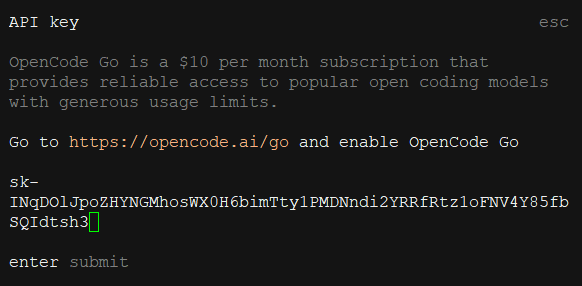
Start vibecoding →$10/mo flat-rate subscription. Access to frontier open-source models like DeepSeek V4 Pro, Qwen3.7 Max, and Kimi K2.6. No per-token anxiety.
Get OpenCode Go →
Cheap, flexible, recommended

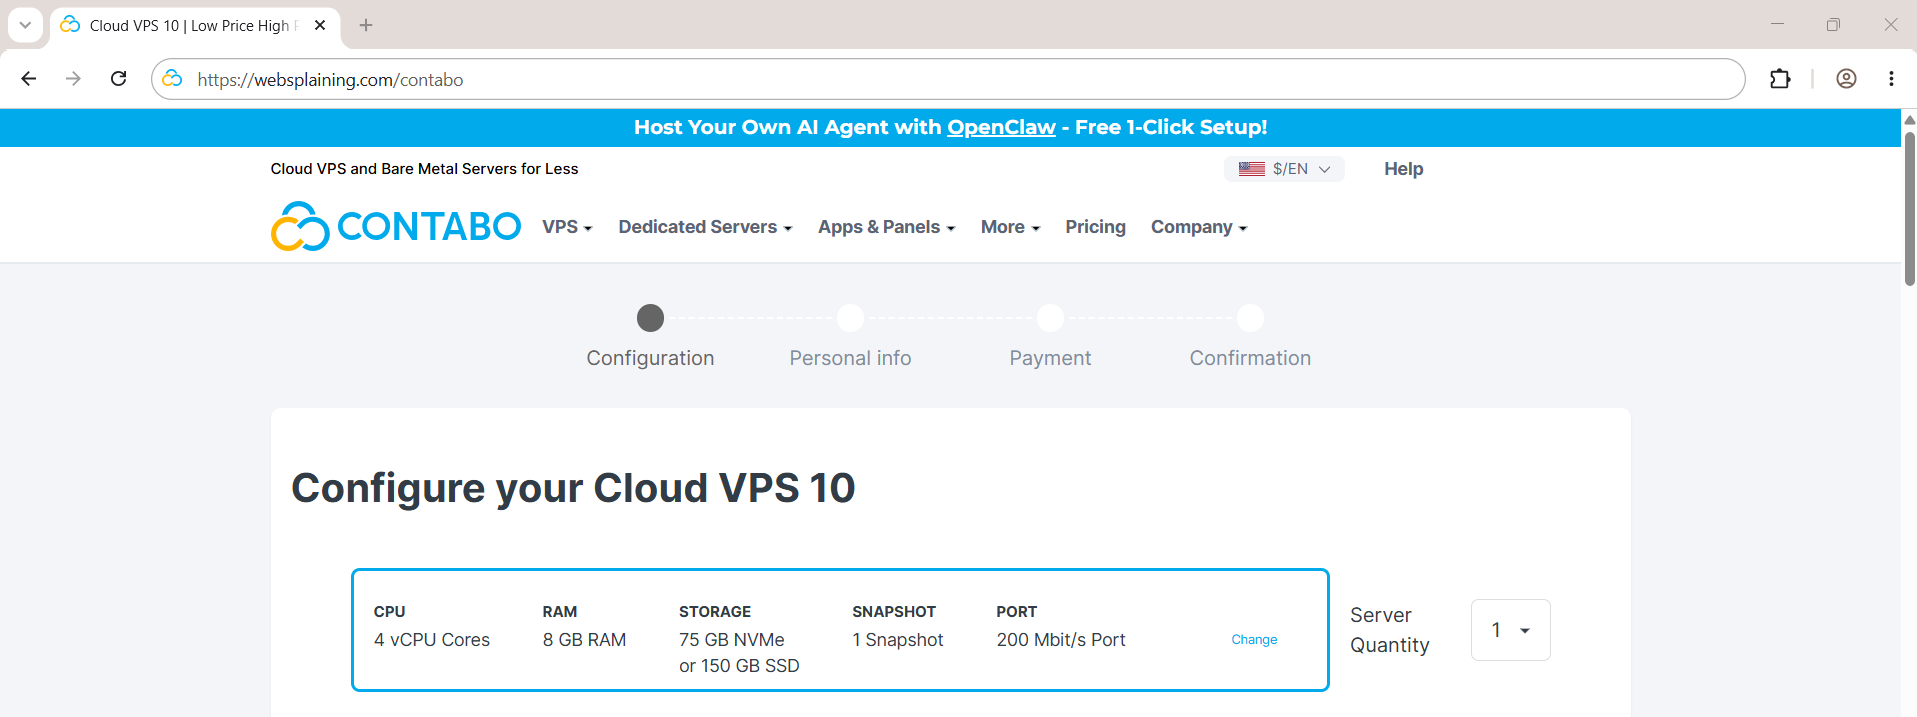
Pricier, but beefier specs
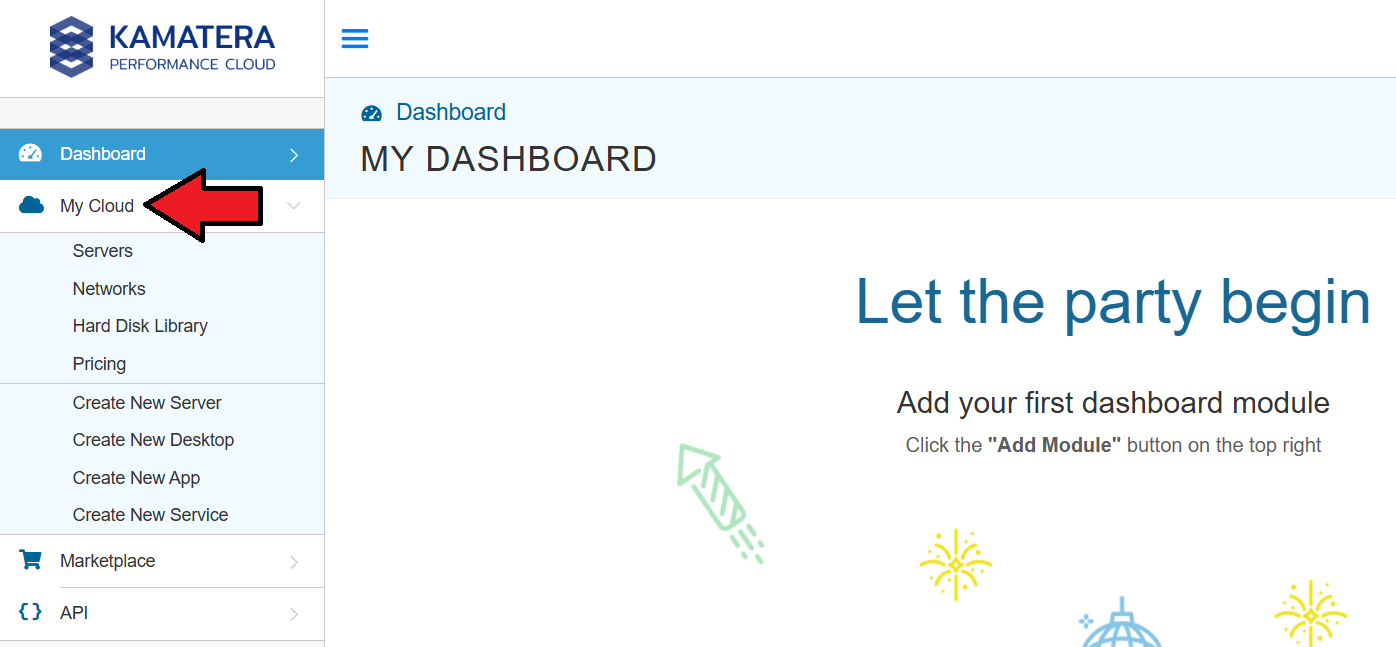
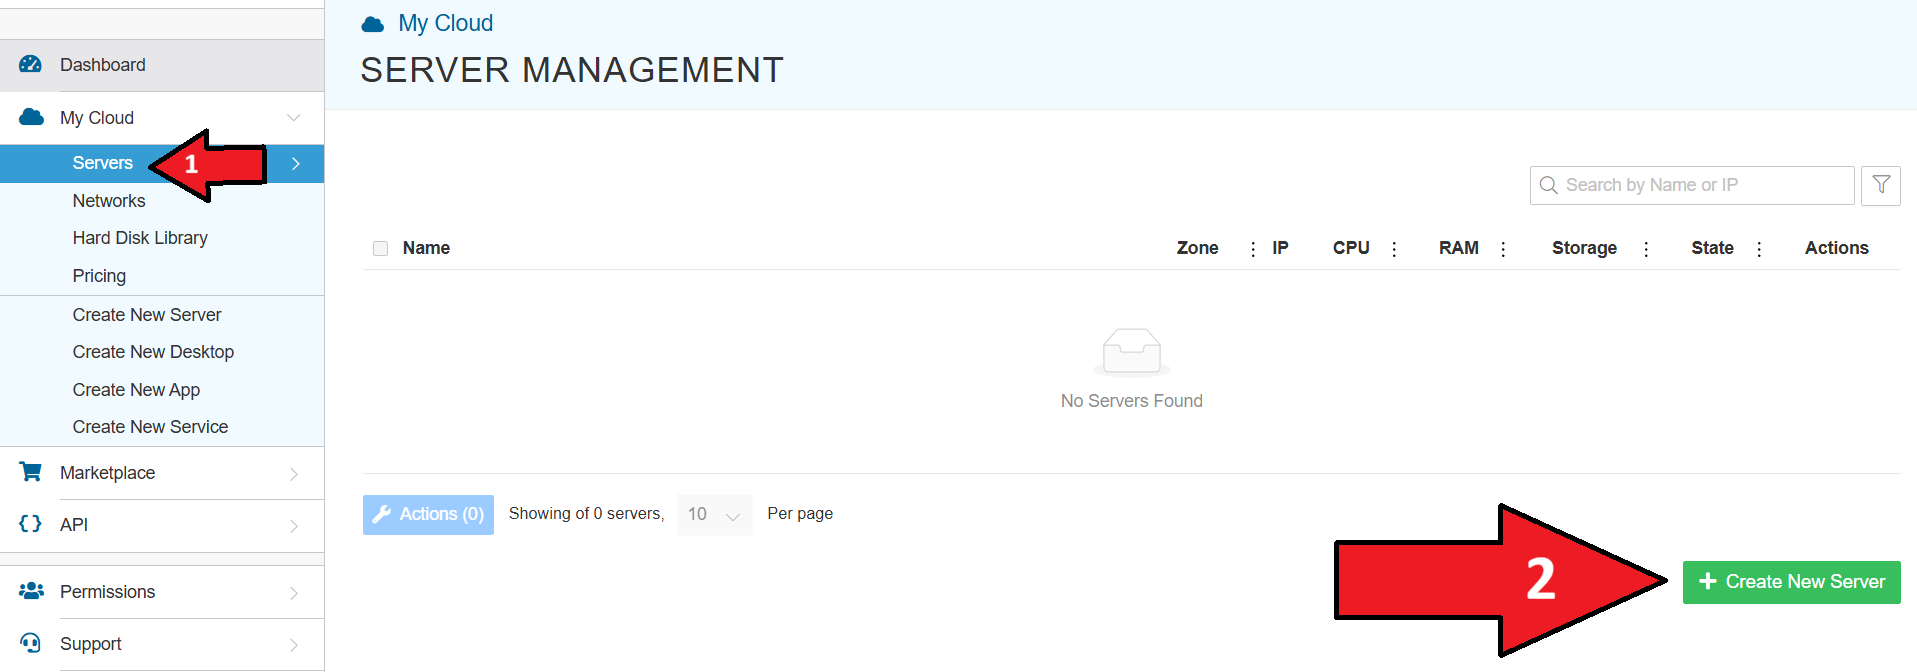
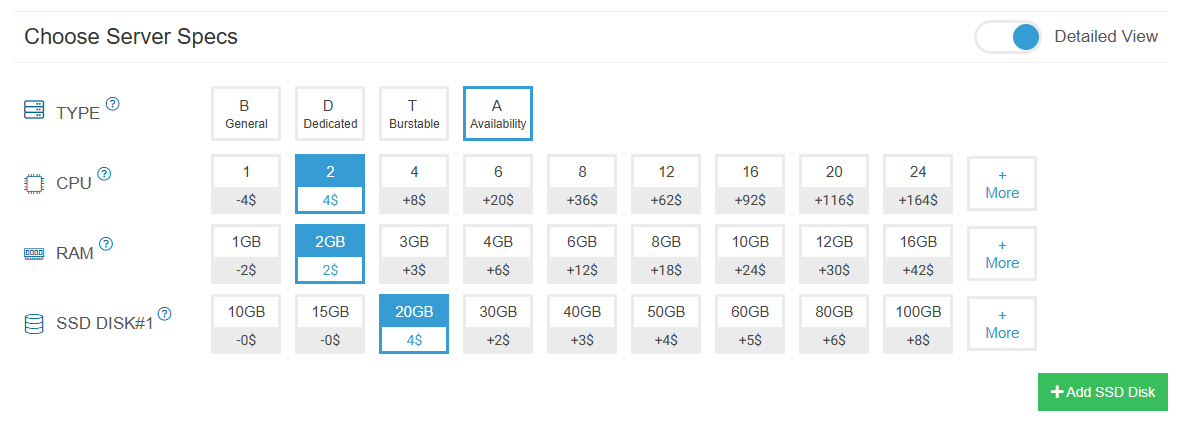
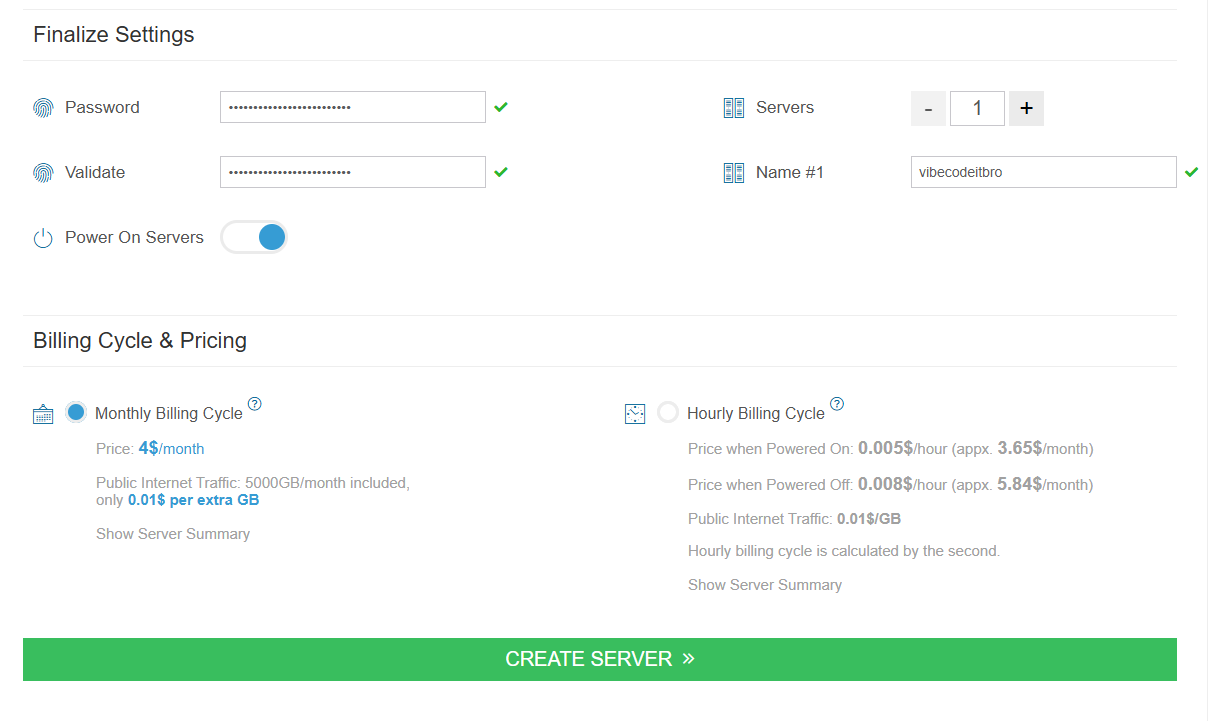
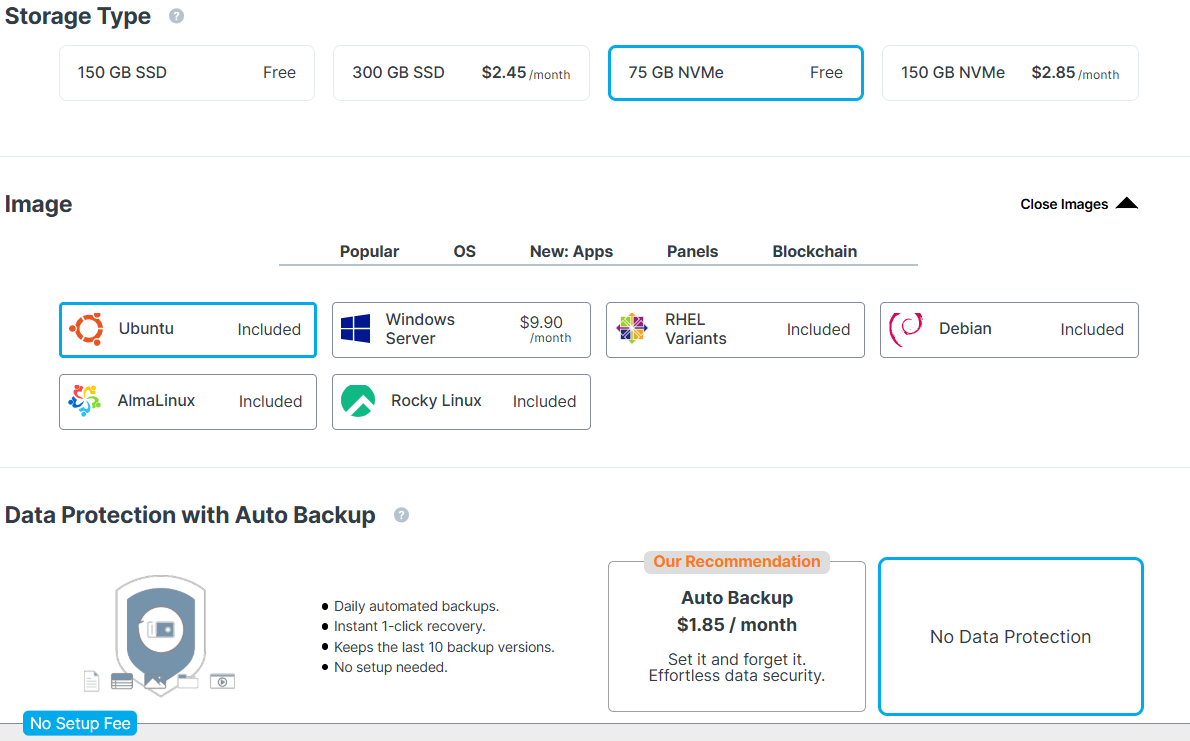
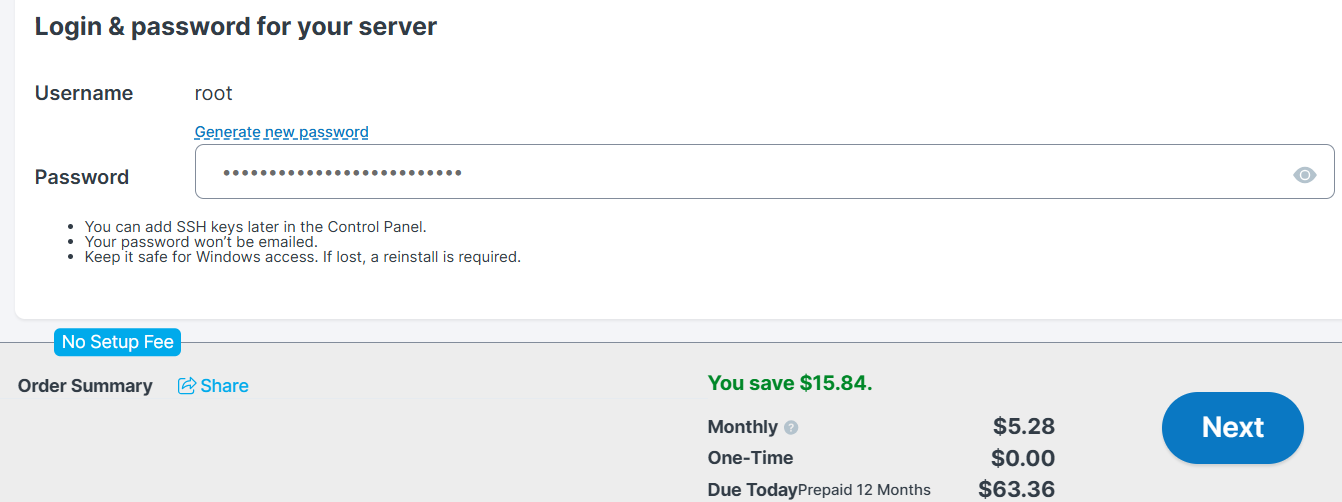
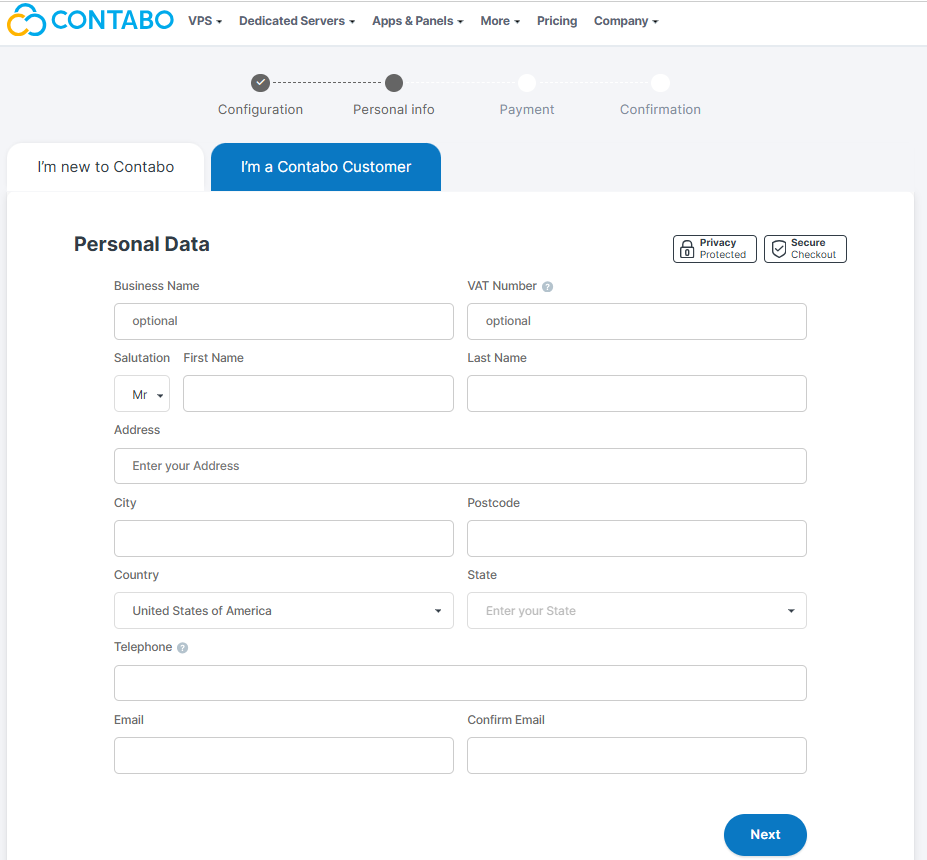
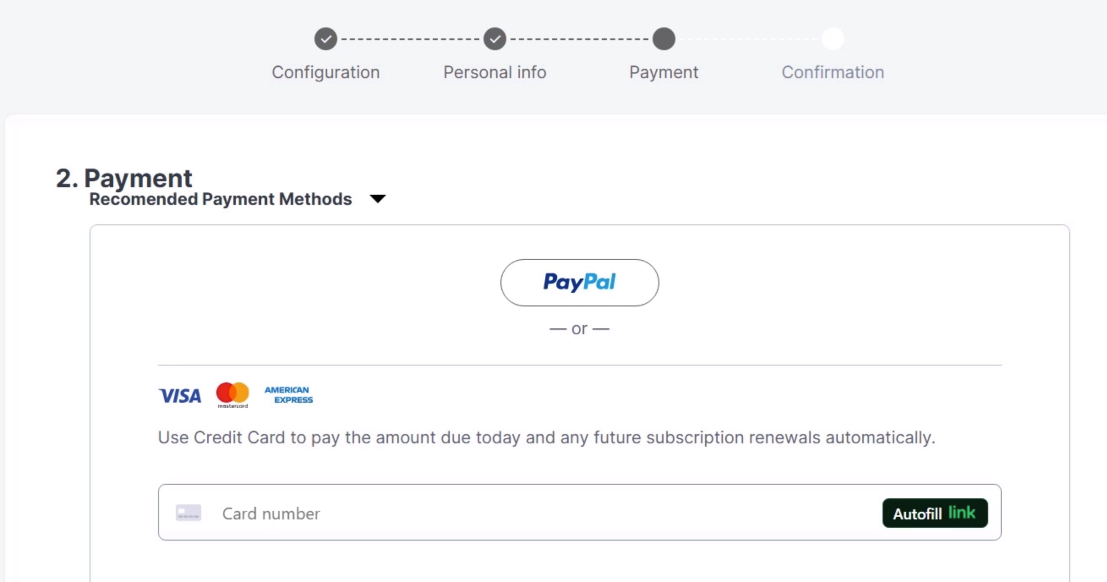
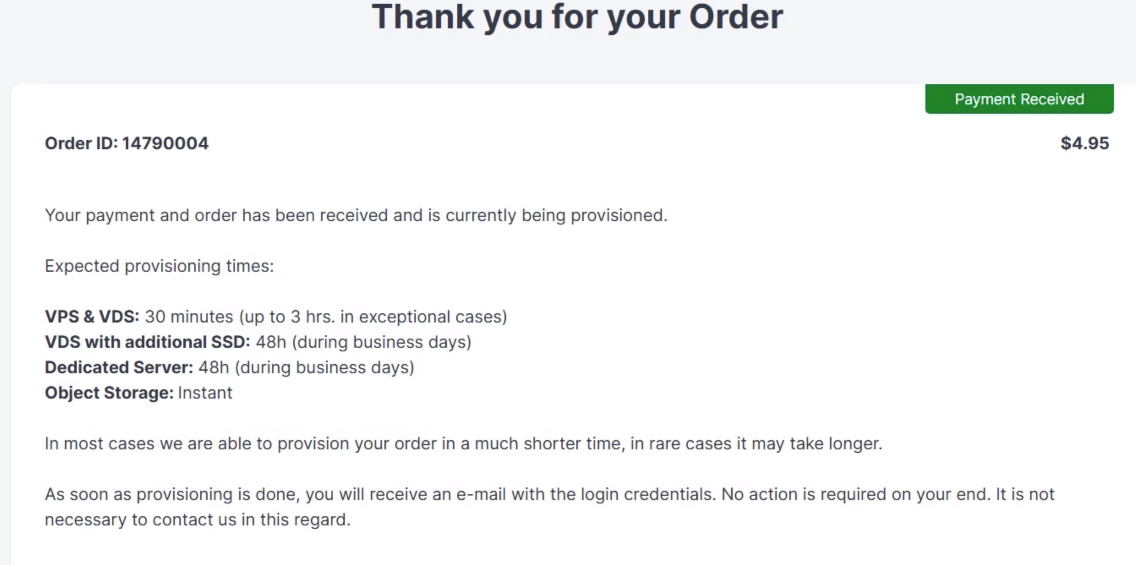
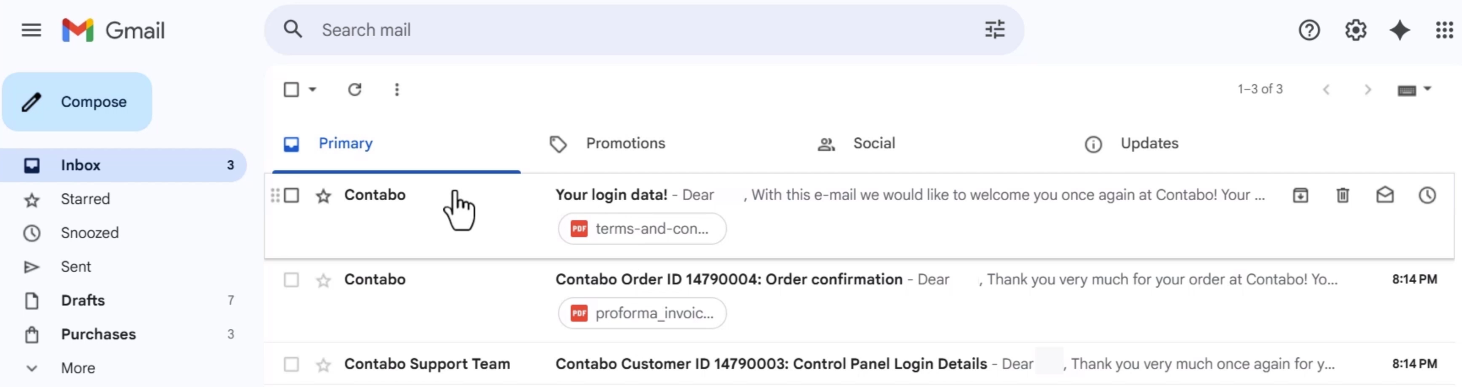
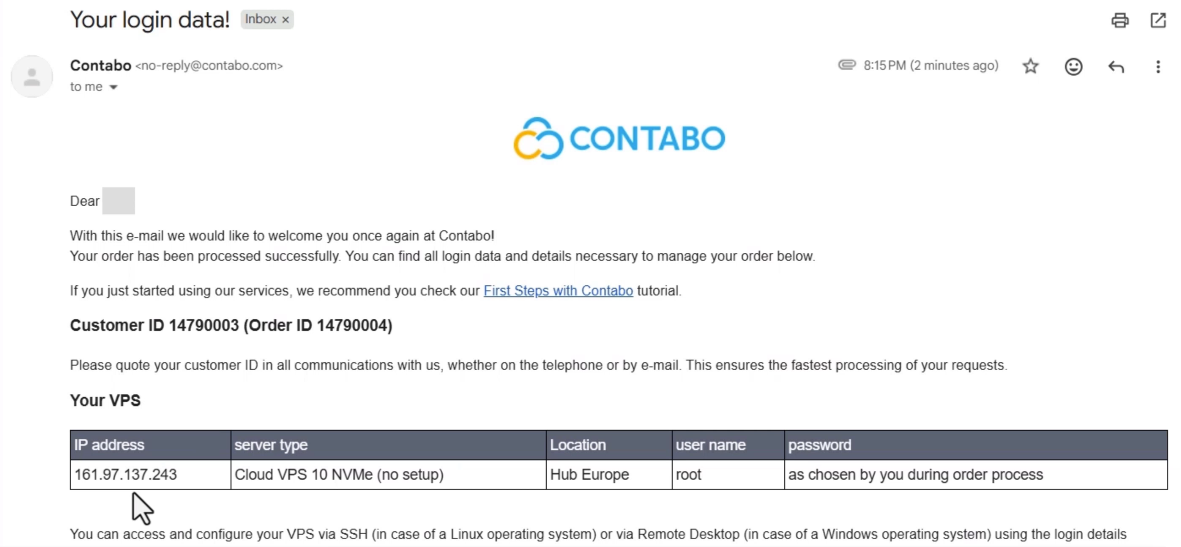
Click Kamatera or Contabo above. Launch the latest Ubuntu LTS. 2 vCPU / 2 GB RAM is plenty. Save the IP and root password.


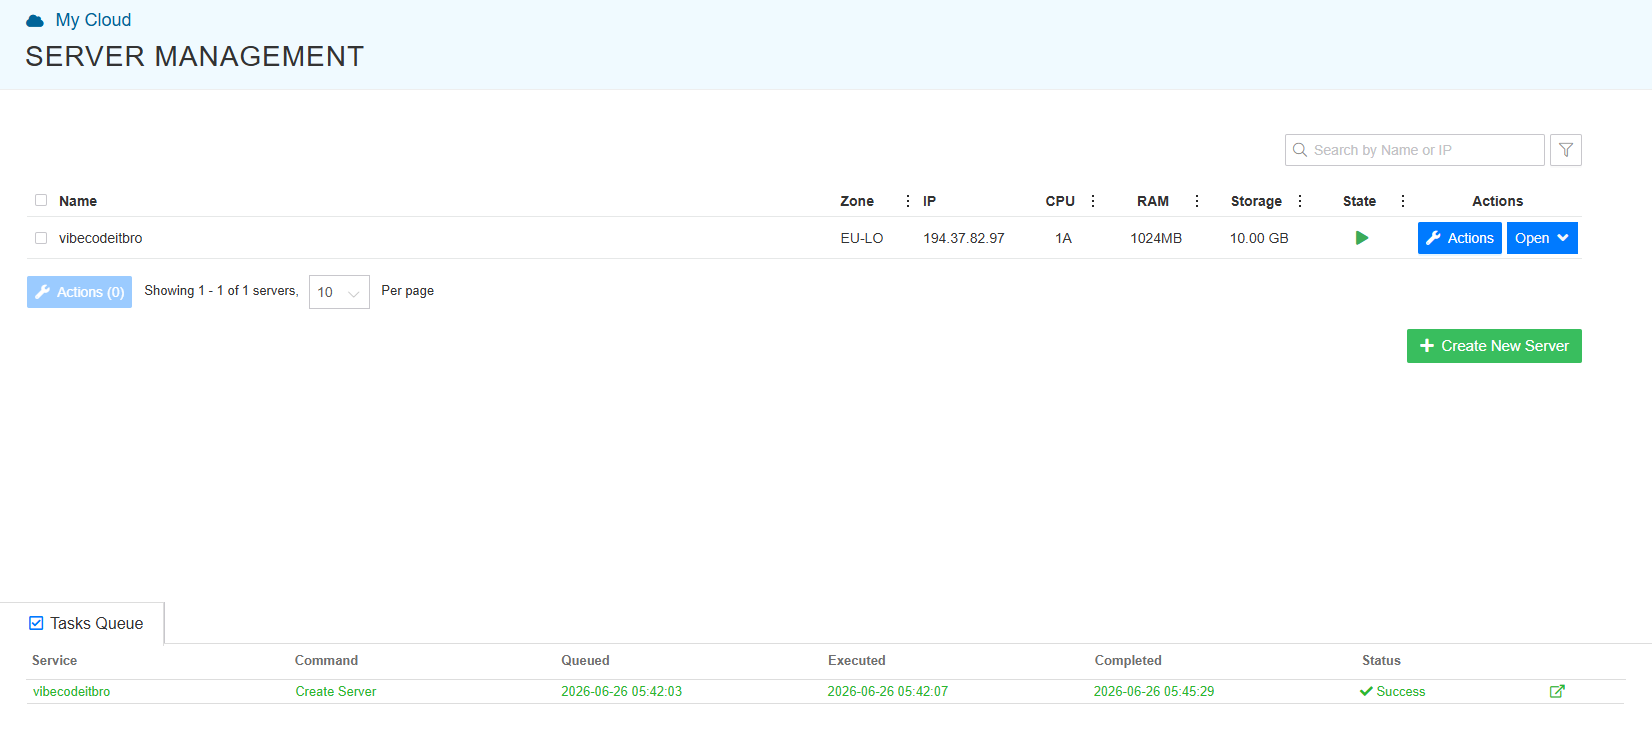
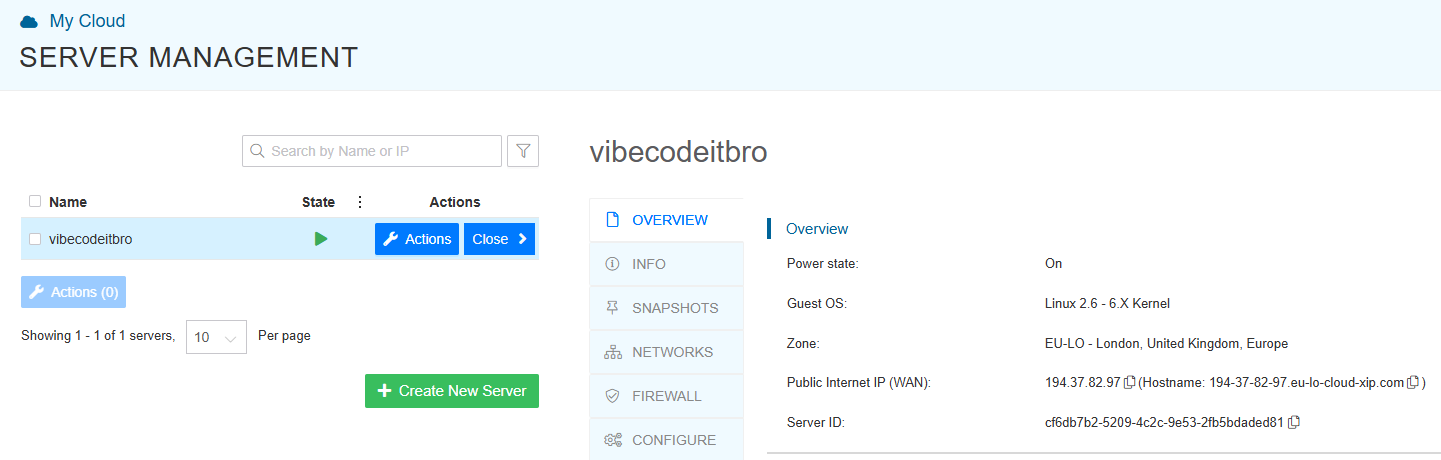

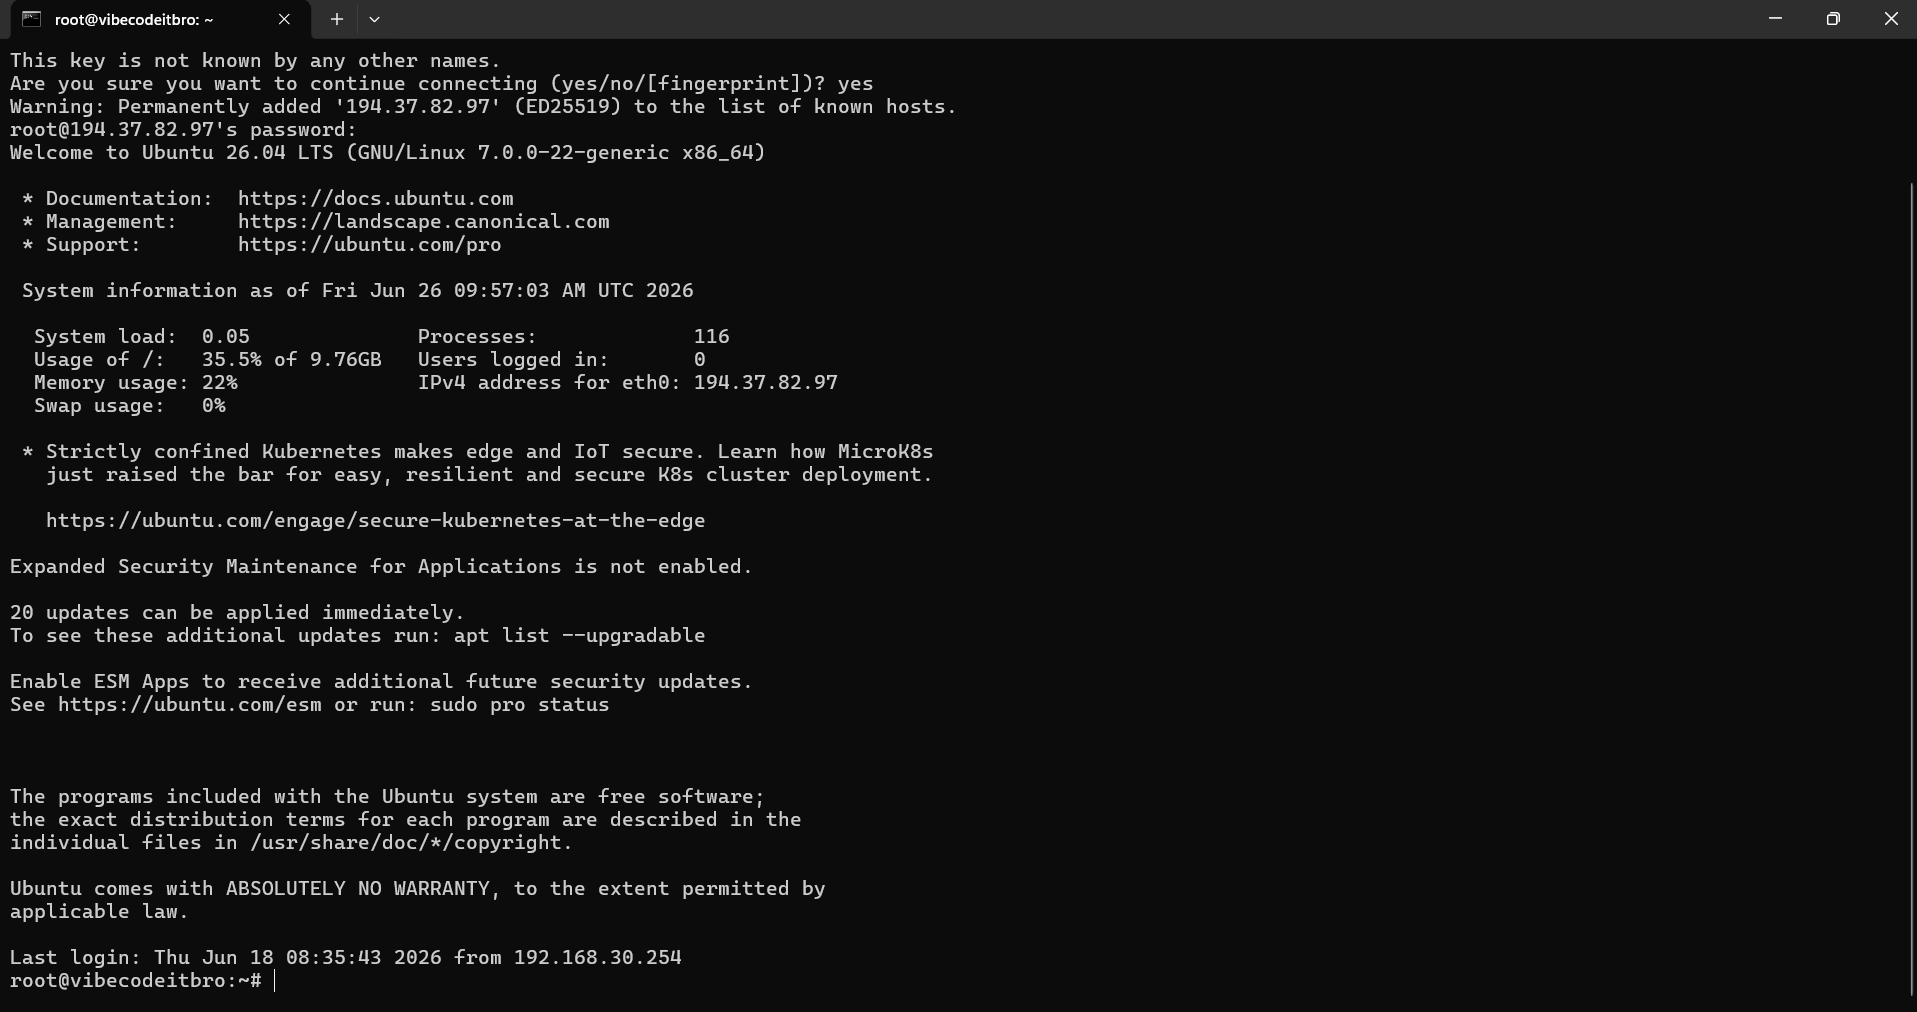
ssh root@your-vps-ip. Type yes at the prompt.


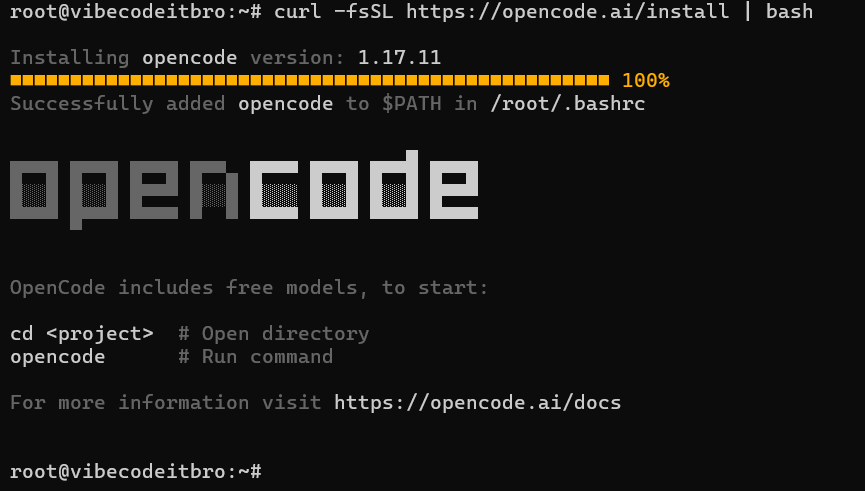
Paste this into your SSH session and hit Enter:
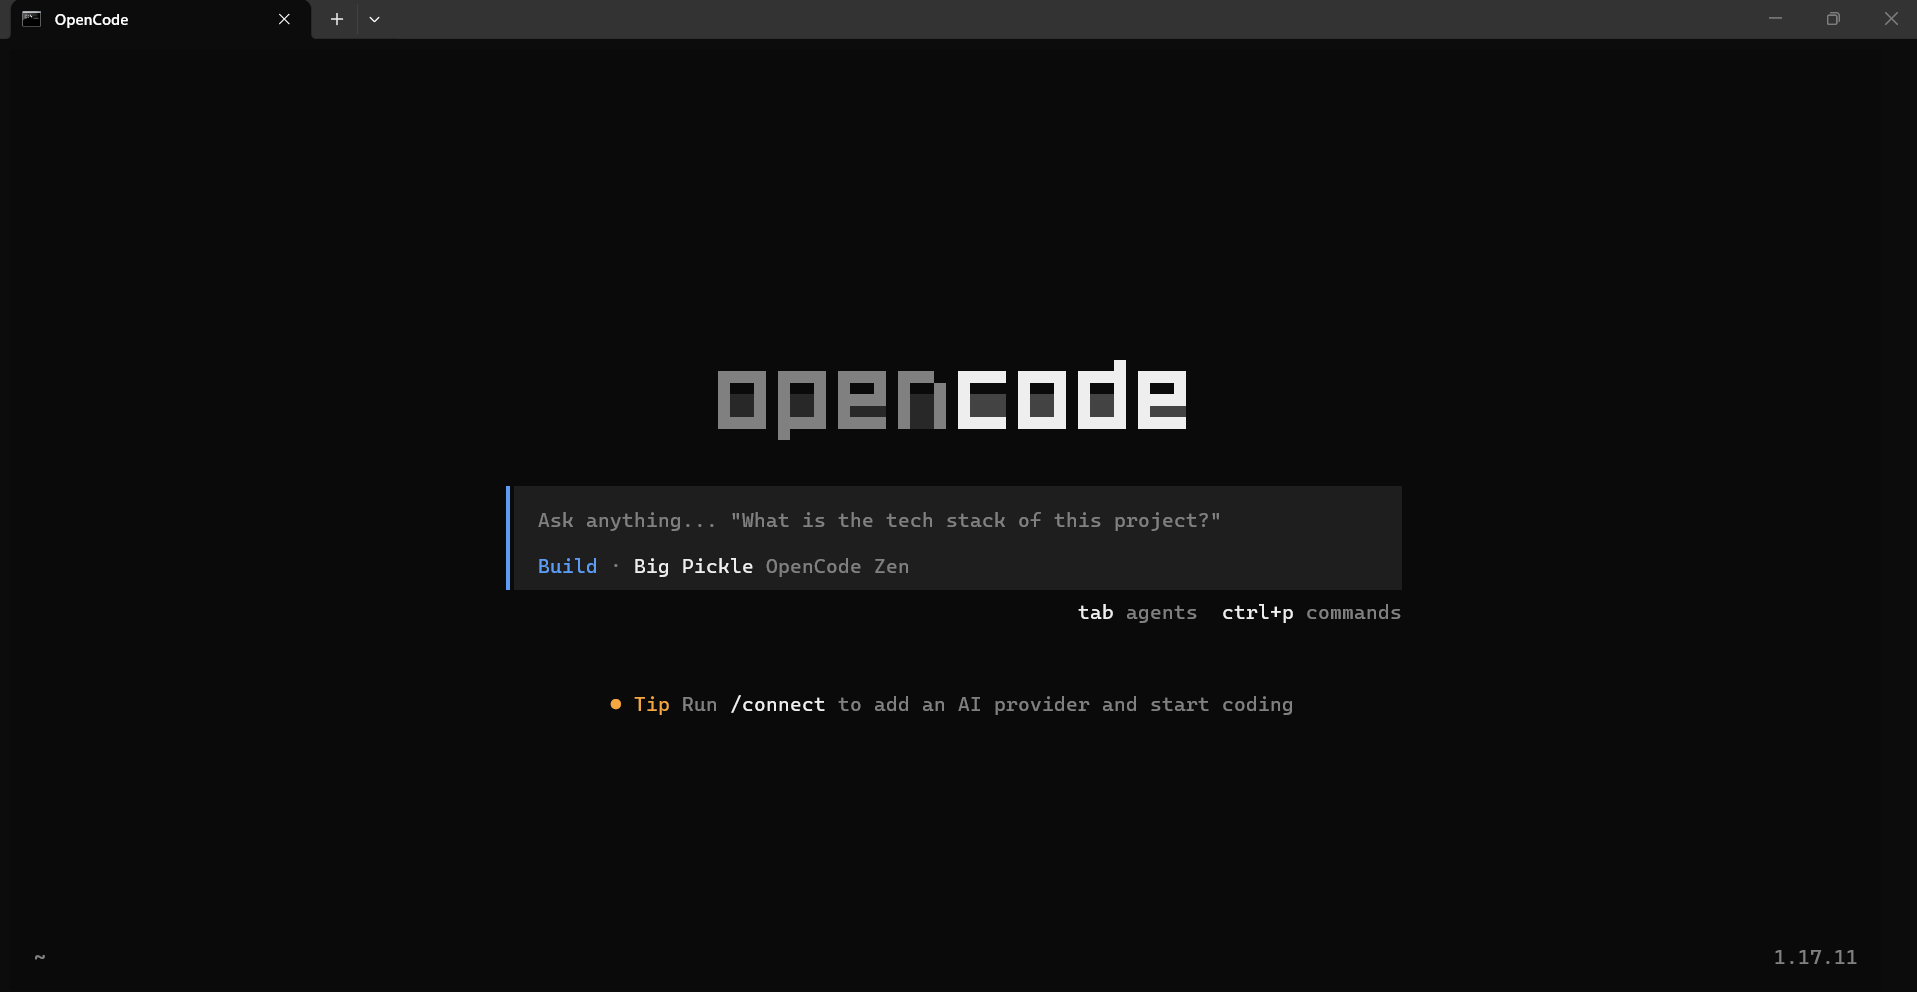
curl -fsSL https://opencode.ai/install | bashsource ~/.bashrcopencode
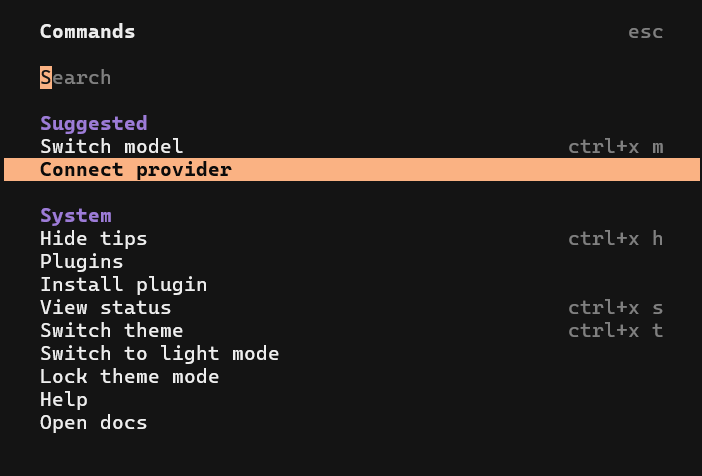
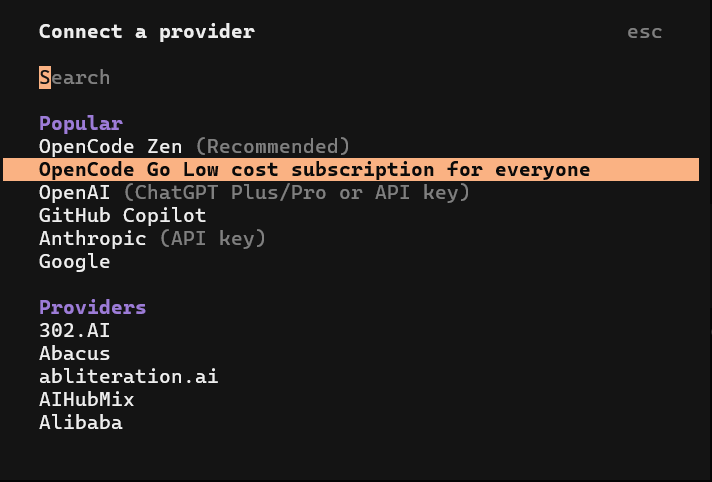
Inside OpenCode, press Ctrl+P. Choose OpenCode Go, paste your API key. Done.
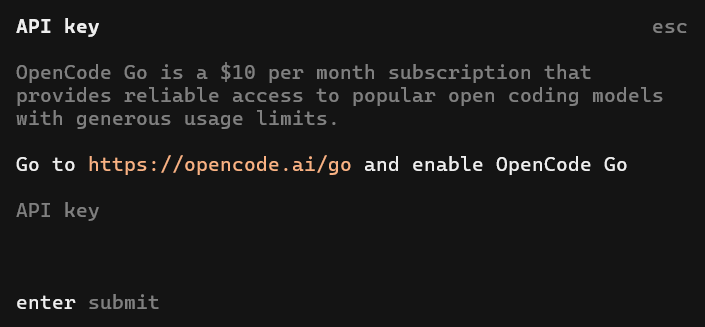

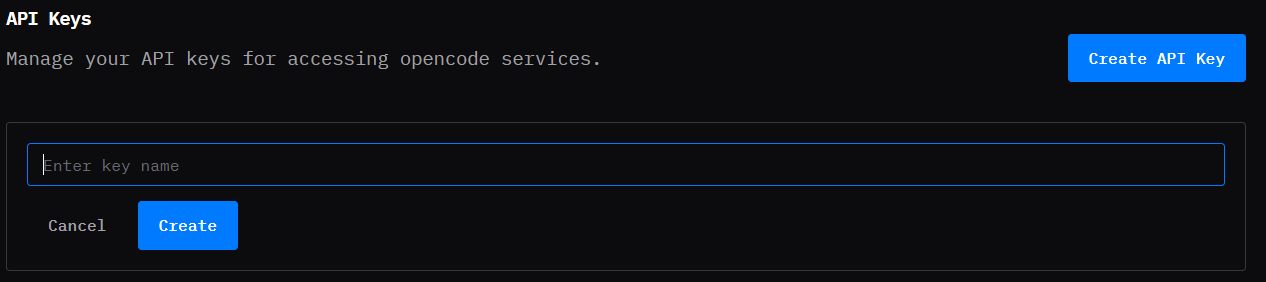
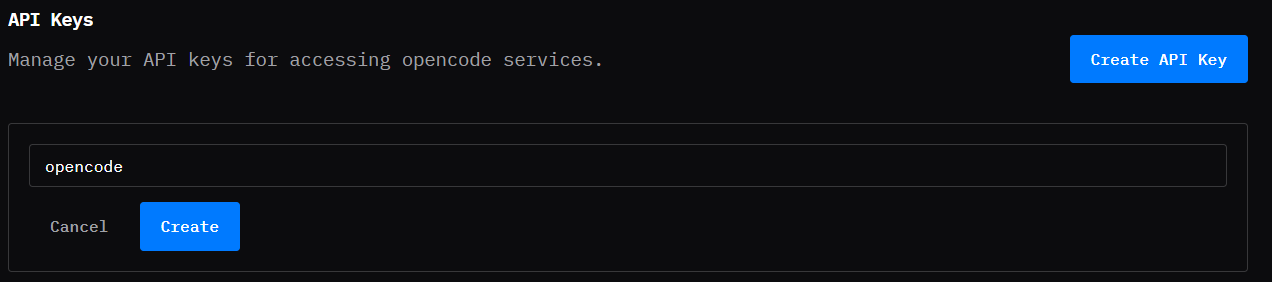

💡 No account? Grab one here.
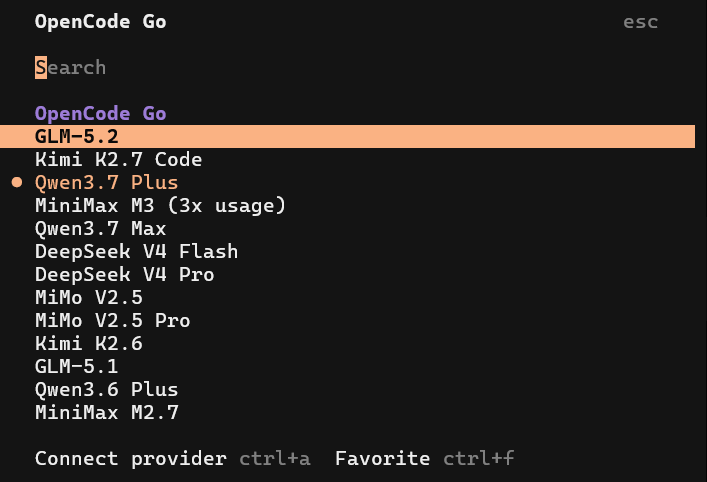
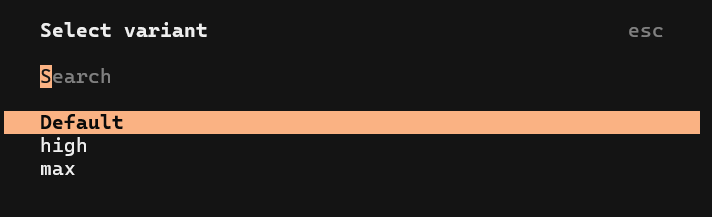
Hit Ctrl+P again, pick model:
The agent reads your codebase and writes a step-by-step plan. No files are edited. Review the plan, nudge it in chat, switch to Build when ready.
The agent actually edits your files and runs commands. Pair with git commit for an instant undo button.
Always start in Plan mode. Read the plan. Clean it up. Then switch to Build. That's vibecoding vs vibepanicking.